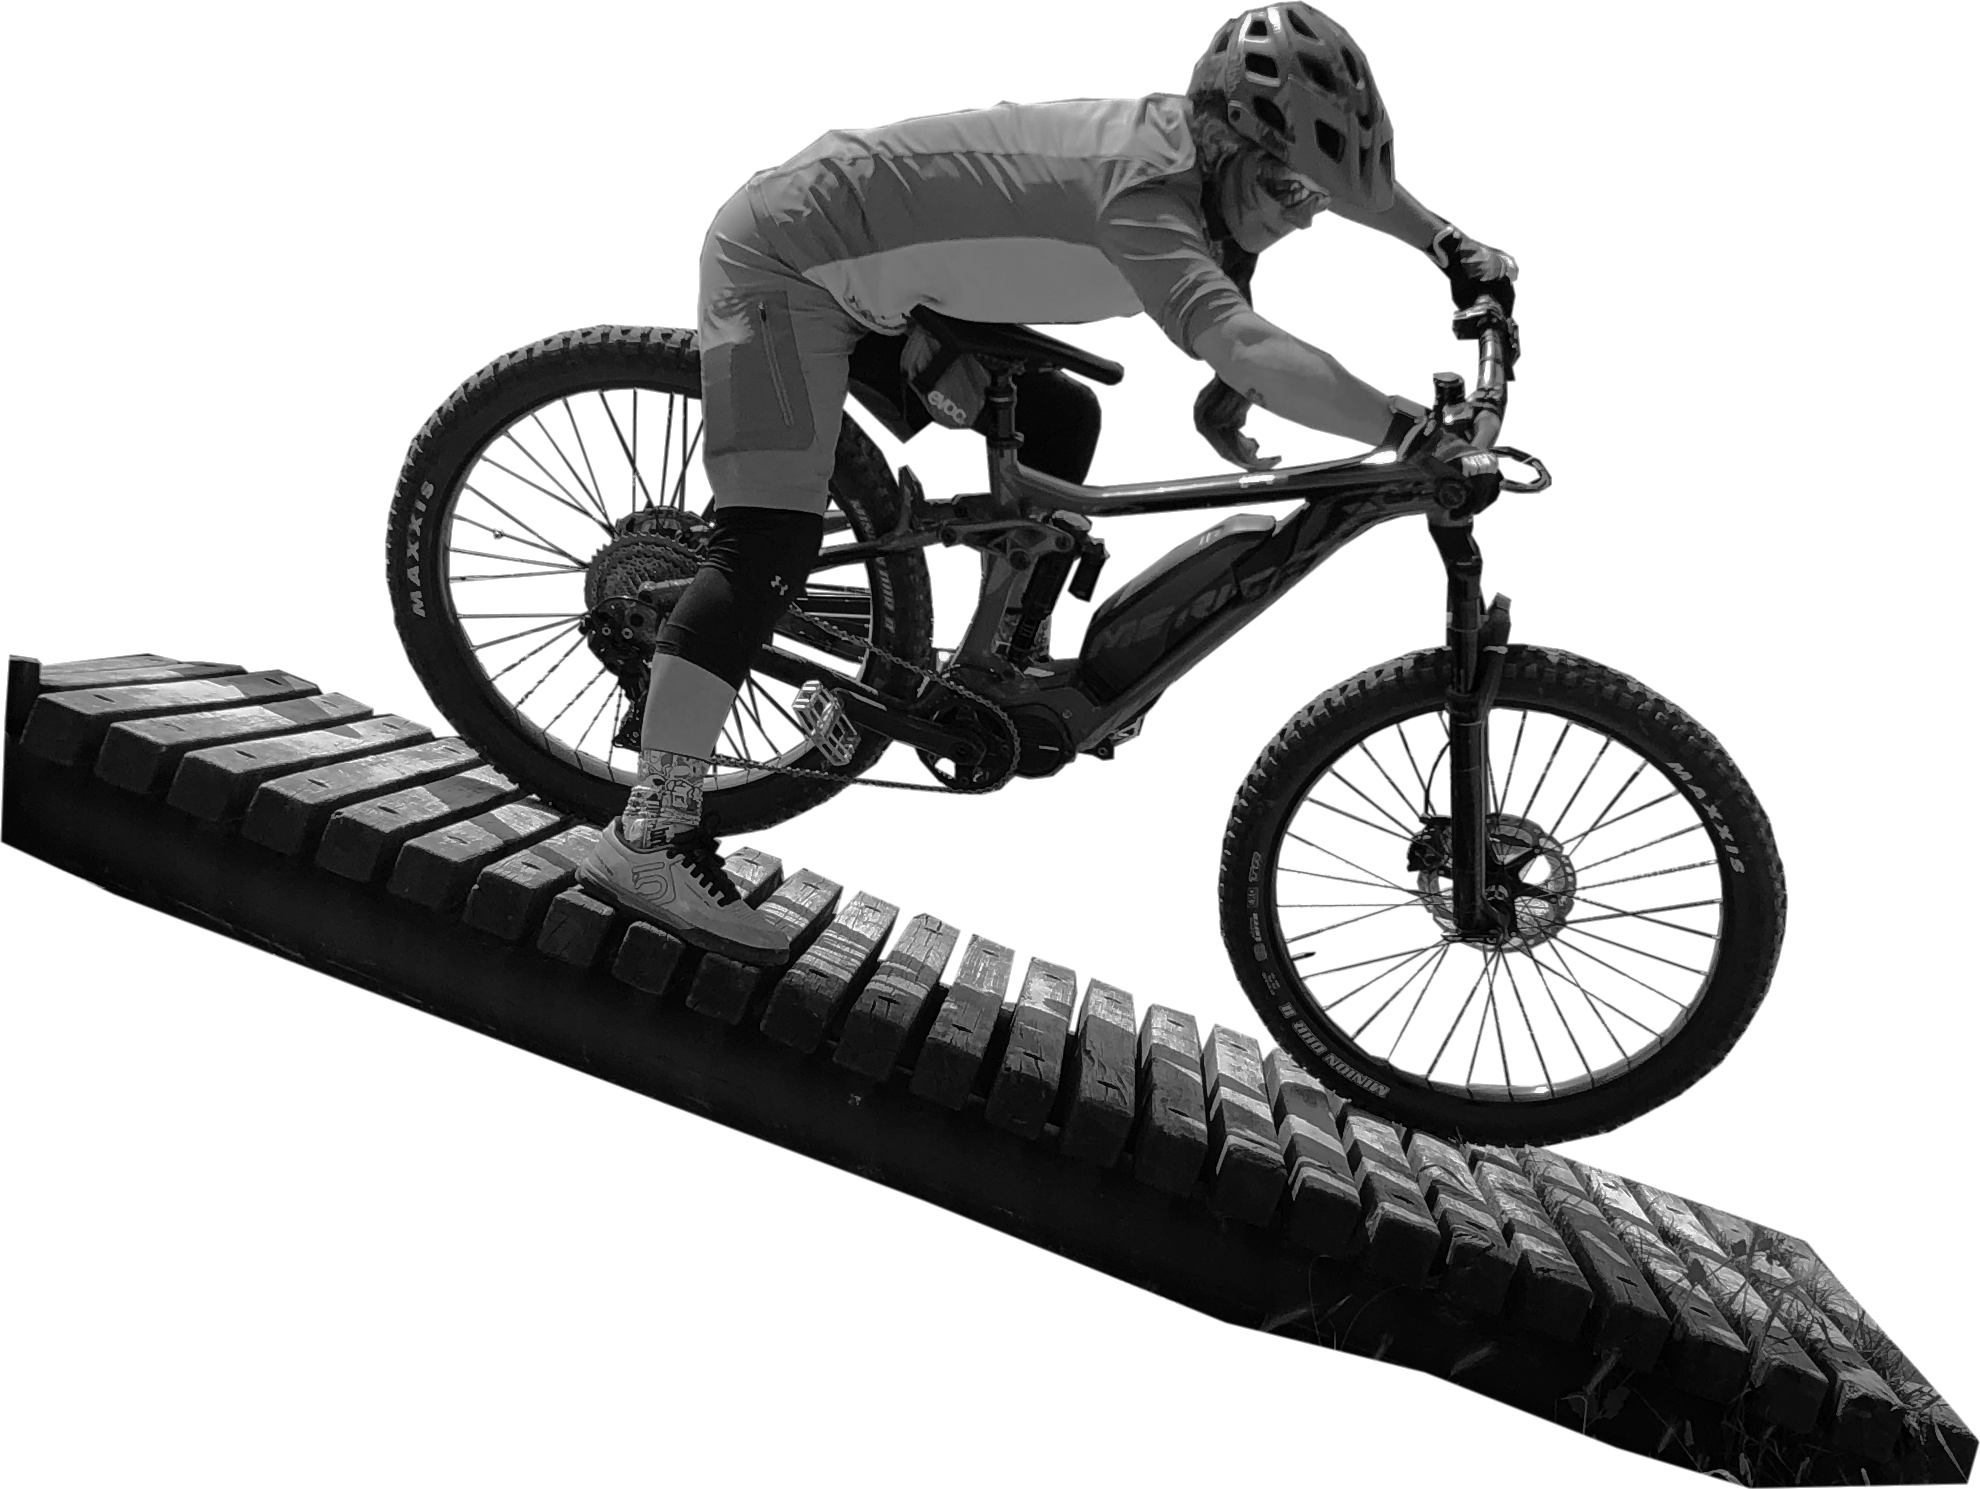
DESCENDING DISMOUNT
Descending Dismount allows the rider to get off their bike while riding a downhill slope.
WHERE IT IS USED
The Descending Dismount is when the descent becomes too steep or too technical to ride and a quick dismount is needed before losing balance or falling.
KEYWORDS – DESCENDING DISMOUNT
| 1. Low Ready. 2. Look. 3. Lock. 4. Lean. 5. Land(Behind Saddle). 6. Step Off. |
INSTRUCTOR DEMONSTRATION
Side view demonstration. The rider is slowing down preparing to stop.
PERFORM A DEMONSTRATION – The instructor must perform a demonstration for each progression.
LOCATION FOR DEMONSTRATION
Start with non-technical terrain, gradually moving to steeper more technical terrain.
SITE SELECTION – If possible, find a downhill paved or grass surface you can close off and use for your descending skills lesson.
GOAL OF THE LESSON
To safely step off the bike while descending, bring the bike to a stop and place a foot on the ground away from the bike for stability.
KEYWORDS -The describing words you use to teach the skill.
PHASE BREAKDOWN – Used to help the instructor create a deeper understanding of the skill, how it is broken down into the key Bike/Body movements, and the correct order they should be performed.
| THREE PHASE | KEYWORDS DESCENDING DISMOUNT | THE KEY BIKE/BODY MOVEMENTS TEACHING POINTS |
|---|---|---|
| Set Up | Low Ready | The rider is in a Low Ready Position, dictated by the terrain. Speed: Walking pace. The rider modulates both brakes and reduces speed in preparing to stop. |
| The Move | Look Lock Lean Land(Behind Saddle) | The rider Looks to the side where they want to stop. Choose the uphill side when descending across a slope. Lock the brakes as the bike comes to a stop. The rider’s hips move behind the seat and decide which foot to place on the ground. The rider Leans the bike toward the side they want to step down. Land by stepping away from the bike creating a tripod position. The hips are behind the seat. If the bike is leaned to the left, put the left foot on the ground, and the right foot at the bottom of the pedal stroke at 6 o’clock. |
| Follow Through | Step Off | The rider Steps Off the back of the bike while moving the hand off the front brake to the saddle, to keep the bike from rolling away. |
Additional information:
Having the rider’s feet clipped to their pedals, creates a harder challenge. If the rider is unable to complete the skill with their feet clipped into their pedals, have them practice with sneakers on so they can learn and complete the skill.
The rider must continue to apply the brakes until they have completely stepped off the bike.
If the descending dismount is performed correctly, the rider is now positioned with one foot firmly planted on the ground, the other foot on the pedal, the bike leaned toward the ground, hips behind the seat, and brakes fully locked.
GROUP MANAGEMENT – Have the riders come through one at a time. Instruct the group to wait off to the side at the bottom of each section of the descent until the last rider has come through before giving further instructions.
METHOD OF OBSERVATION – Stand on the outside (side view) of the skill zone to be able to see the approach and the body movements as they stop next to you.
ERROR DETECTION AND CORRECTION – Positive – Constructive – Positive.
ERROR DETECTION AND CORRECTION
Example: The bike starts moving downhill after the rider has stepped off into the tripod position.
- Make sure the rider keeps the brakes locked until they fully step off the bike.
- The rider must come to a full stop before stepping off the bike.
Example: The rider falls to one side when stopping.
- Make sure the rider steps away from the bike 1-2 feet in a tripod position creating space for the bike to lean.
PROGRESSIONS– Teach the skill in smaller steps to ensure the rider is proficient in that step before advancing to the next step in the skill.
RIDE STANDARD – The BICP ride standard is used for testing riders for certification.
SKILL PROGRESSIONS
Have riders practice dismounting on both sides of their bike for each progression.
PROGRESSION ONE
The riders practice the Descending Dismount on a slight downhill slope. The rider dismounts on the uphill side of the bike.
PROGRESSION TWO (RIDE STANDARD)
Increase the steepness. Have the riders practice the Descending Dismount on a steeper downhill slope. The rider dismounts on the uphill side of the bike.
WRAP UP THE LESSON – Have the riders leave on a positive note. Remind the riders of their accomplishments and suggest a goal or things to practice.


